Deploying First Service
This guide walks you through deploying your first Docker-based service using easyconfig. A service can be an application, database, static site, WordPress installation, Node.js app, Laravel app, Redis service, or a custom Docker Compose setup.
Step 1: Create a project
Projects help you organize related services. For example, if you are deploying a WordPress website, the project may include a WordPress service, a database service, domains, logs, and snapshots.
- Login to easyconfig.
- Go to the dashboard.
- Click New Project or Create Project.
- Enter a project name such as
my-website. - Save the project.
Step 2: Create a service
After creating a project, open the project and create your first service.
- Open the project you created.
- Click Create Service.
- Select the service type.
- Choose a template or Docker image.
- Enter the service name.
Step 3: Choose a template
If you are new, starting with a template is easier than writing Docker Compose manually. Templates provide recommended images, ports, environment variables, and volume configuration.
Example templates may include:
- WordPress
- n8n
- Directus
- Redis
- MySQL
- PostgreSQL
Step 4: Configure environment variables
Many applications require environment variables such as database name, database user, password, application URL, secret key, or admin email. easyconfig shows these values in the service configuration area.
Use strong passwords and avoid reusing old credentials.
Step 5: Attach a domain if required
If your service needs to be publicly accessible, attach a domain or subdomain. For example:
app.example.comBefore attaching the domain, make sure the DNS A record points to your server IP.
Step 6: Deploy the service
After confirming the configuration, click the deploy button. easyconfig prepares the service record and runs the deployment workflow according to the selected template or service configuration.
Step 7: Check service status
After deployment, check whether the service is marked as running. If it fails, open logs and review the error message. Common issues include wrong environment variables, wrong internal port, missing database credentials, or DNS not pointing correctly.
Commands
The panel handles most actions visually, but these commands help beginners understand what a server operator usually checks while working with Docker-based deployments.
docker --version
docker compose version
docker ps
docker logs --tail=100 container_name
df -h
free -m
Summary
| Area | What to check | Expected result |
|---|---|---|
| Server | CPU, RAM, disk, firewall, Docker | The server has enough resources and Docker is available. |
| Application | Image, tag, port, variables, storage | The service can start and keep data after restart. |
| Network | DNS, proxy route, SSL, browser response | The app is reachable from the correct domain. |
| Security | Roles, secrets, audit logs, backups | The setup is safe enough for continued operation. |
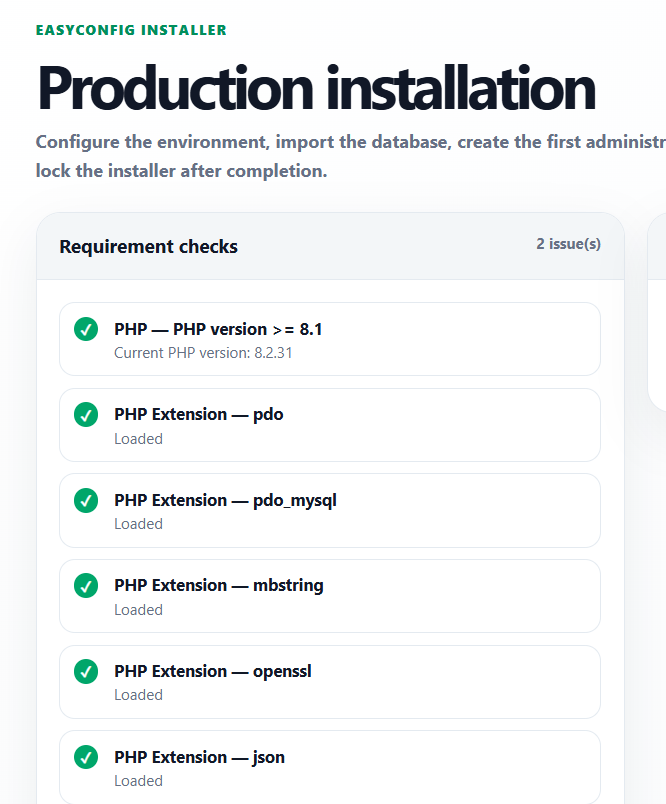
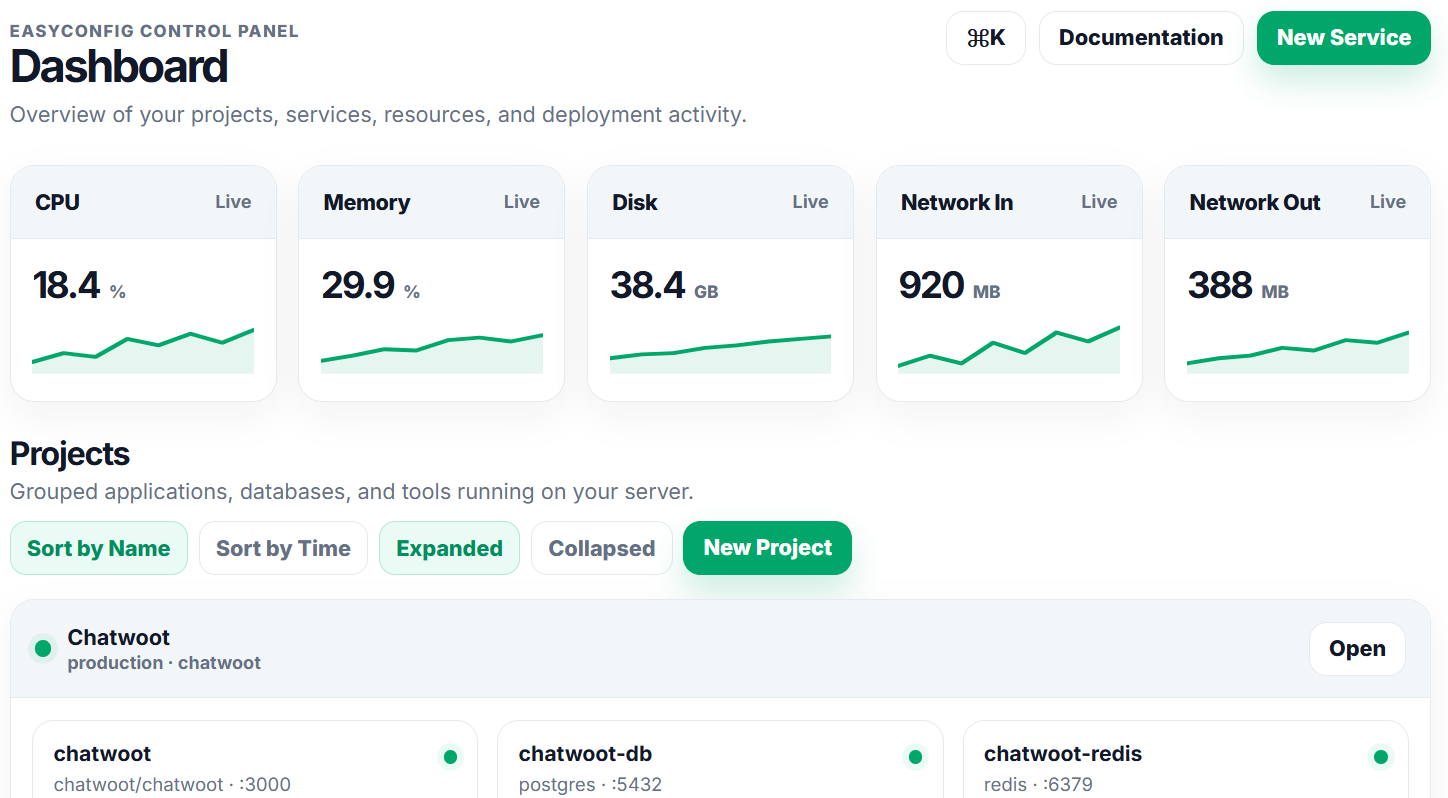
Screenshots
Upload screenshots to the paths below when you want the documentation to show real easyconfig interface examples.

Next
- Apply the guide in a test project first.
- Check logs after every deployment or configuration change.
- Document custom values for future handoff.
- Review related documentation when domains, SSL, databases, or billing are involved.